Triggers
Concept
- The triggers module will help you automate the granting of bonuses to players.
- Conditions for triggering a trigger can be added to the triggers.
- Bonuses can be added to each trigger, which will be credited to the player - rewards, achievements, and purchases. No more than 10.
- Reward claiming is manual or automatical if auto-claim reward is specified for the trigger.
- A trigger can be activated once or made daily resettable.
- Triggers cannot be deactivated via the SDK.
- Trigger activation does not require a separate request. Triggers are only activated automatically when synchronizing the player.
- You have access to information about triggers and a list of triggers activated by the player.
- Information about triggers does not need to be obtained through a separate request; it is available at the start of the game.
- Information about triggered that are activated by the player does not need to be obtained through a separate request; it is available after player autoload at the start.
- The number of triggers is limited: 10 - for normal usage plan, 100 - for paid usage plan.
📄️ API Triggers
Integration of triggers via SDK. Work methods.
📄️ Platform Goals
Notifying platforms about achieving goals, missions, and completing tasks in your game.
Add triggers through the control panel
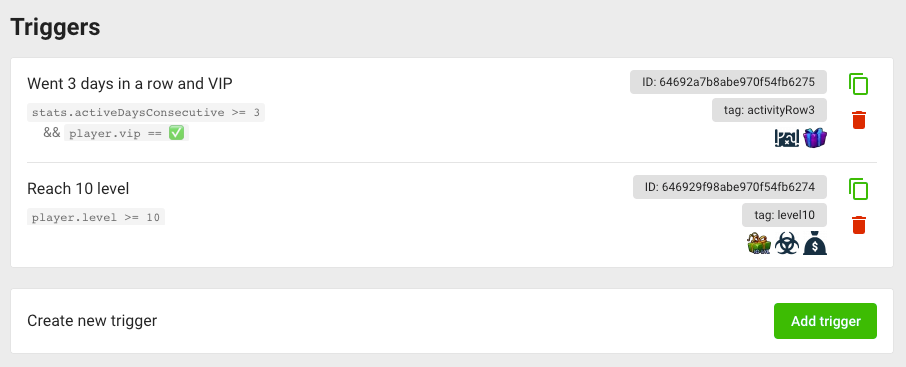
In the Project Triggers section, you can create a trigger.
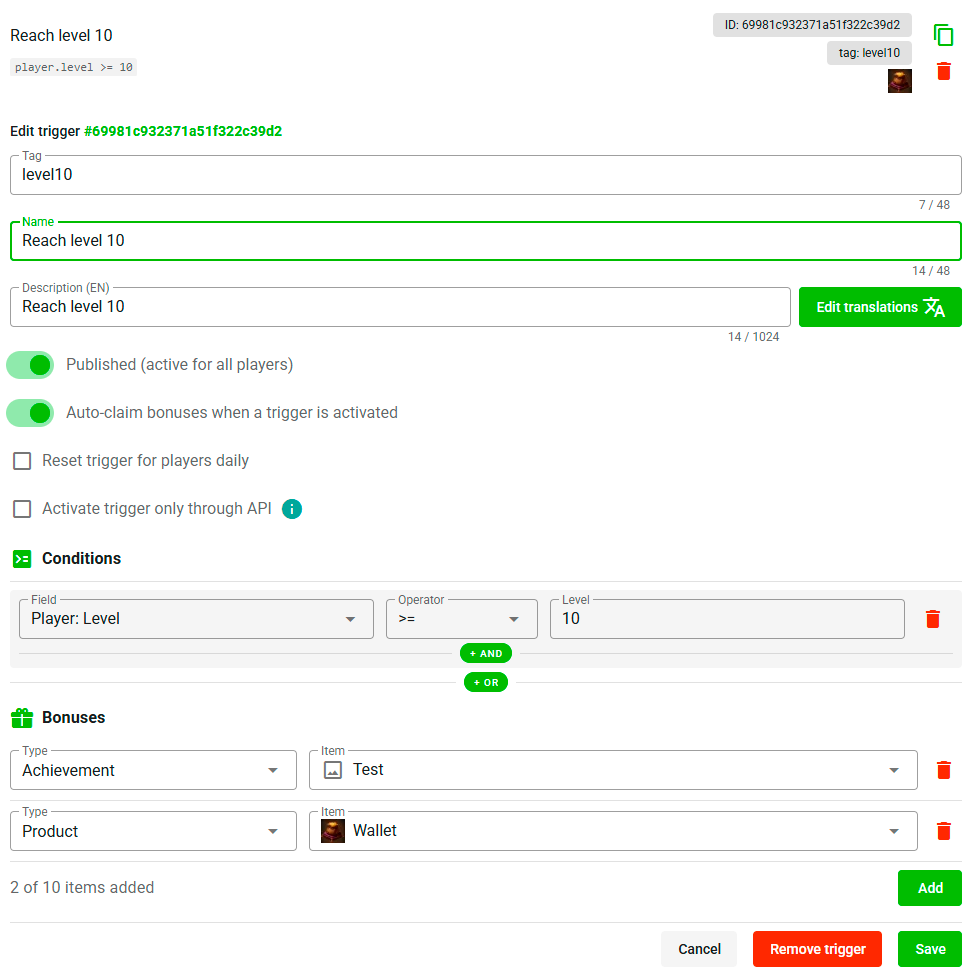
In the add form, you can:
- Specify a tag for more comfortable use of the trigger.
- Specify a name for yourself to make it easier to navigate through the triggers.
- Specify a description for the player, explaining how to complete the trigger conditions.
- Specify visibility. All players or only in test mode.
- Specify whether bonuses will be automatically claimed upon trigger activation.
- Specify whether the trigger will be reset daily for players.
- Add trigger activation conditions (below).
- Add bonuses when the trigger is activated (below).
Configure the trigger activation conditions
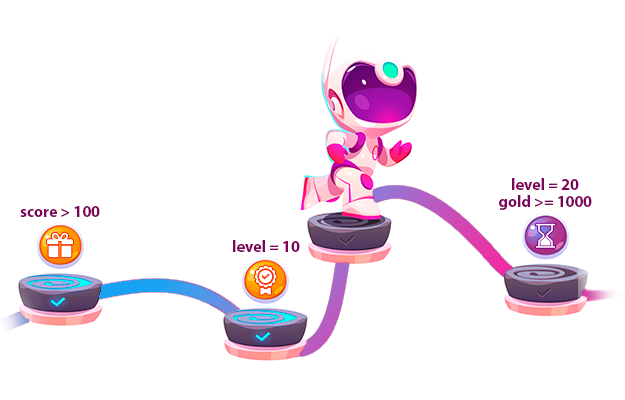
You can configure conditions to activate the trigger, such as achieving a specific level or score.
This will allow you to:
- Change the trigger acquisition conditions in real-time.
- Get by without additional code.
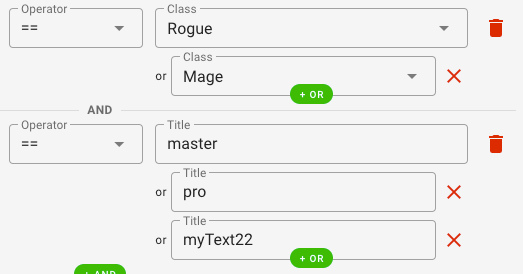
The condition constructor looks like this:
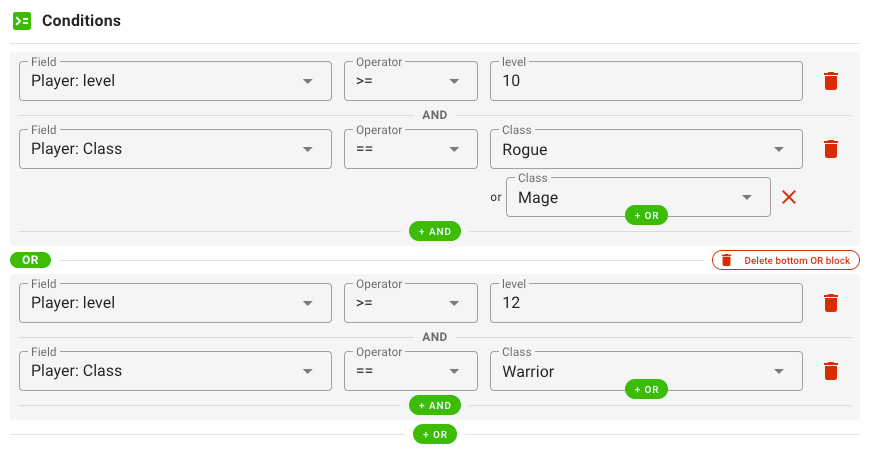
Such a condition means:
Activate the trigger if the player is Rogue or Mage and has reached level 10, as well as if the player is Warrior and has reached level 12.
In code translation:
const isActivated =
    (player.level >= 10 && (player.class === 'rogue' || player.class === 'mage')) ||
    (player.level >= 12 && player.class === 'warrior');
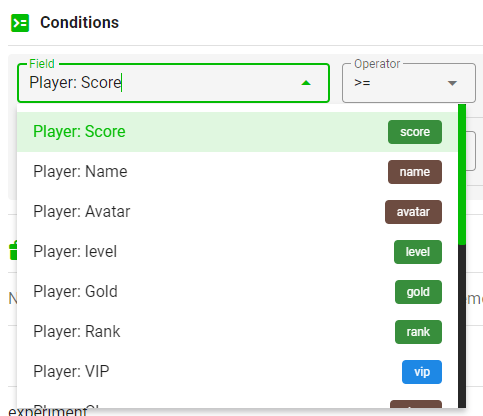
The editor conditions list includes all of the player's fields:
- Basic fields: points, name, avatar
- Custom fields: Any of your fields
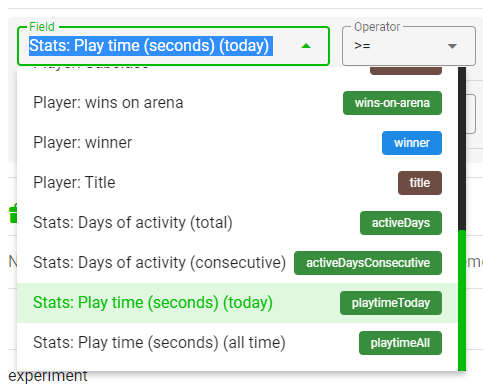
Also available is a list of a player's statistic fields:
- By day: Total days and total consecutive days
- By time: Time in-game and time in-game today
In total, you can perform six comparison operations on fields:
- Field
==equals the value. - Field
!=does not equal the value. - Field
>is greater than the value. - Field
<is less than the value. - Field
>=greater than or equal to the value. - Field
<=less than or equal to the value.
Comparisons >, <, >=, <= are only acceptable for numerical variables.

Also, inside the comparison value, you can specify several variants through OR.
Multiple comparisons are permissible only with the operations == and !=, except for boolean variables.
Configure bonuses when the trigger is activated
You can configure automatic reward distribution when the trigger is activated.
That allows you to:
- Regulate bonuses in real-time.
- Get by without additional code.
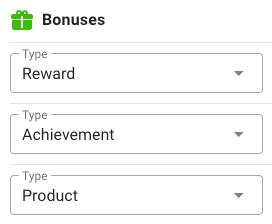
The bonus constructor looks like this:
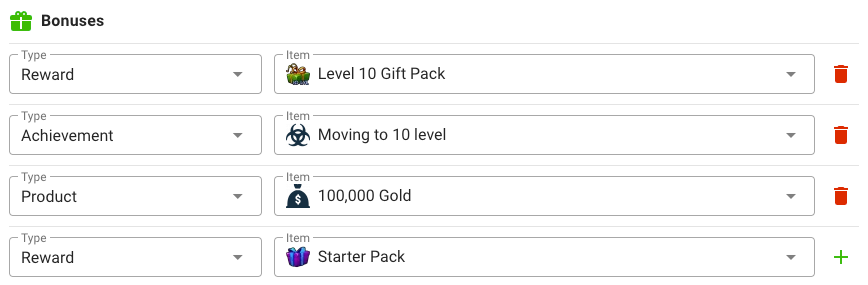
Upon activating the trigger, you can claim these bonuses, or if auto-claim enabled, bonuses are automatically given to the player. Also triggered are notification of receiving an achievement, purchase, or reward.
Only three types of bonuses are available:
- Rewards;
- Achievements;
- Purchases.
How to start
- Go to your project in the Panel GamePush;
- Go to the Triggers section;
- Add the first trigger;
- Familiarize yourself with working with triggers in the SDK and track the activation of triggers.
Go to SDK documentation 👇
📄️ API Triggers
Integration of triggers via SDK. Work methods.
📄️ Platform Goals
Notifying platforms about achieving goals, missions, and completing tasks in your game.
Stay in Touch
Other documents of this chapter available Here. To get started, welcome to the Tutorials chapter.
GamePush Community Telegram: @gs_community.
For your suggestions e-mail: official@gamepush.com
We Wish you Success!